Email Individual(s) When an MS Form Is Submitted Using Power Automate
This article covers
Note: You must first create the form for which you want to create an automated flow.
Personal Forms and Group Form IDs
If you created the MS form from your account, it will be listed in your forms.
.png)
If you created the form from a SharePoint site or it is a group form, you will need the unique form identifier. Here’s where you can find the form ID. In the form URL, it is the alphanumeric string which follows the = symbol. The highlighted portion of the complete URL is the ID for group forms. https://forms.office.com/Pages/ResponsePage.aspx?id=6Eq8AGxX40WUnU8SnYtnCornpYGDAkJCjlzkThVwXD9UMjYzME9PV004OEc5SFZFTUtKUFpPMFpHVSQlQCN0PWcu
Access Power Automate and Create The Flow
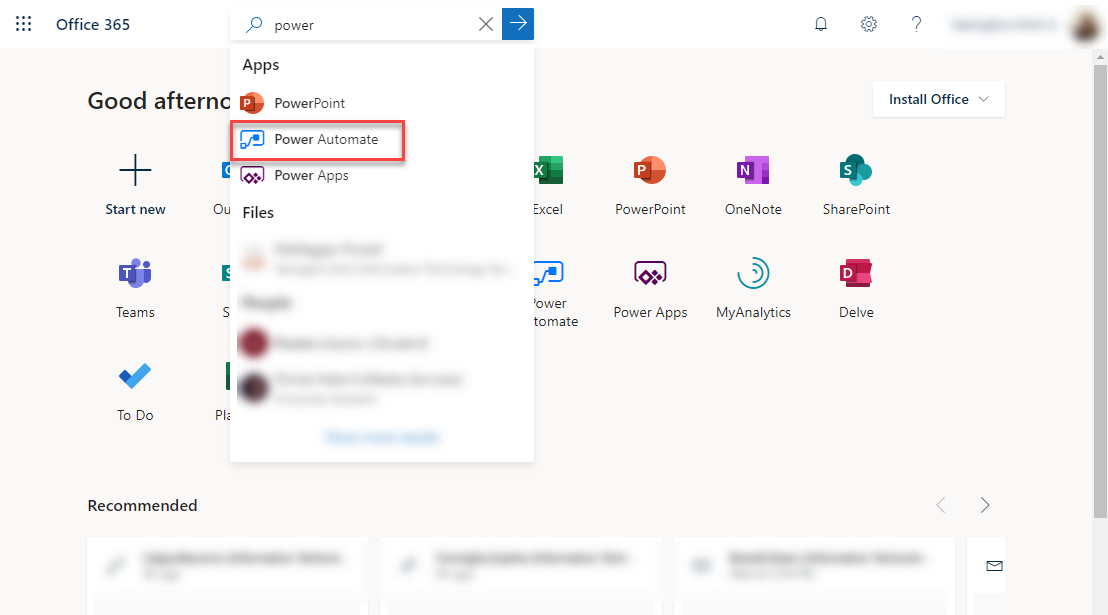
- From your O365 email portal, search for Power Automate.
- There might be some initial set up questions that you’ll need to answer.
- On the left-side menu click create (a), and choose Automated flow (b).
.png)
- Give your flow a name (a). If needed, use the search field for When a new response is submitted, Microsoft Forms (b). Choose When a new response is submitted, Microsoft Forms (c). Click create (d).
.png)
- Click +New step.
.png)
- If needed, use the search field and find: Get response details, Microsoft Forms (a). Click Get response details, Microsoft Forms (b).
.png)
- Click + New step.
.png)
- If needed, use the search field and find: Send an email (V2), Office 365 Outlook (a). Click Send an email (V2), Office 365 Outlook (b).
.png)
- Click Save.
.png)
Personalizing your flow.
You will click on the individual steps to expand and reveal step options.
.png)
- Click on the step: When a new response is submitted to expand and reveal pull-down. From pull-down choose your form or if using a group form scroll to end and choose Enter custom value, paste the form ID into the field. Refer to Personal Forms and Group Form IDs found earlier in this article if you need to find your group form ID.
.png)
- Click on the step: Get response details to expand and reveal pull-down. From pull-down choose your form or if using a group form scroll to end and choose Enter custom value, paste the form ID into the field. Refer to top portion of this article if you need to find your group form ID (a). Drag and drop the icon from the insert parameters to the Response Id box (b).
.png)
- Click on the step: Send an email (V2) to expand and reveal the step options.
- Specify email addresses separated by semicolons.
- Specify the subject of the email.
- Use the text editor, format the content of the email you want to be sent after each submission. You can drag and drop the dynamic content field(s) into your formatted email as you did in the step above.
- Click to show advanced options.
.png)
- The advanced option let you set from who the email is sent (Send as). You can also add cc and bcc fields and other features.
.png)
- When you are done editing, click Save at the bottom of your screen. Flow checker will verify your work and give you a rundown of any errors, you must resolve the errors in order to save your work.
.png)
- Test your flow. Go to your form and submit an entry to verify that you are getting the expected behavior. Troubleshoot as necessary if the behavior is not as expected or desired.