This article covers creating a breakout session in Webex Training, facilitating breakout sessions, and sharing a past breakout session.
To access Webex Training log into your Eastern's Webex account at https://easternct.webex.com/ and click the Webex training link at the bottom left-hand side of the menu.
The following video provides a general overview of breakout sessions.
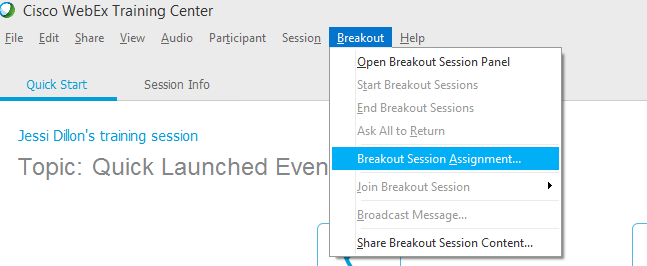
In the WebEx menu bar at the top of the screen during a virtual classroom session, navigate to Breakout.
1. Click Breakout to open the drop-down menu.
2. Click Breakout Session Assignment.
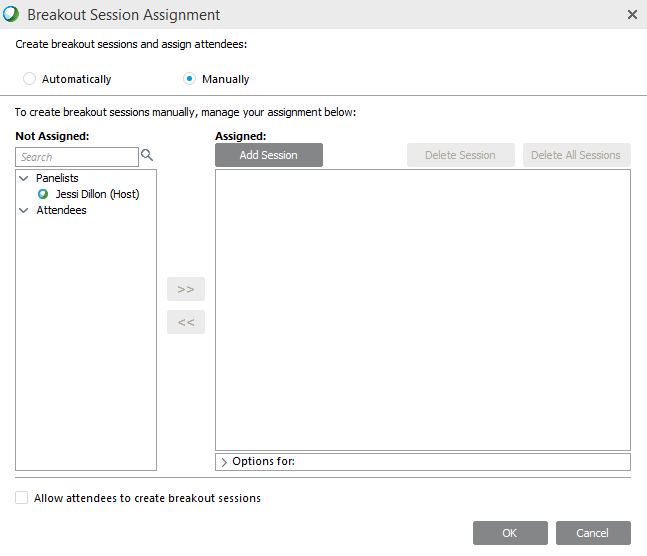
You can assign students Automatically or Manually to breakout sessions. An automatic assignment will create groups of a specified size (for example, four students per group) of randomly selected students. Manual assignment lets you choose which students are in each group.
3. Click to choose the Automatically or Manually option for assigning students
1.1 Automatically Assigned Breakout Sessions
1. Select Automatically in the Breakout Session Assignment window.
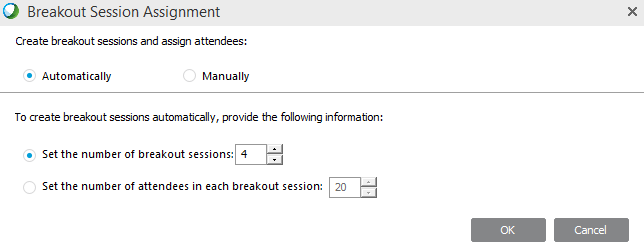
You can determine the size of automatically assigned breakout sessions by choosing to limit the number of breakout sessions or limiting the number of attendees in each breakout session.
For example, in a class with 20 students, if you set the number of breakout sessions to 4, your students will be randomly assigned to 4 groups with 5 students in each group. However, if you set the number of attendees in each breakout session to 10, your students will be assigned to 2 groups with 10 students in each group.
With automatically assigned sessions, all students who connect to the WebEx session will be randomly added to a breakout session.
1.2 Manually Assigned Breakout Sessions
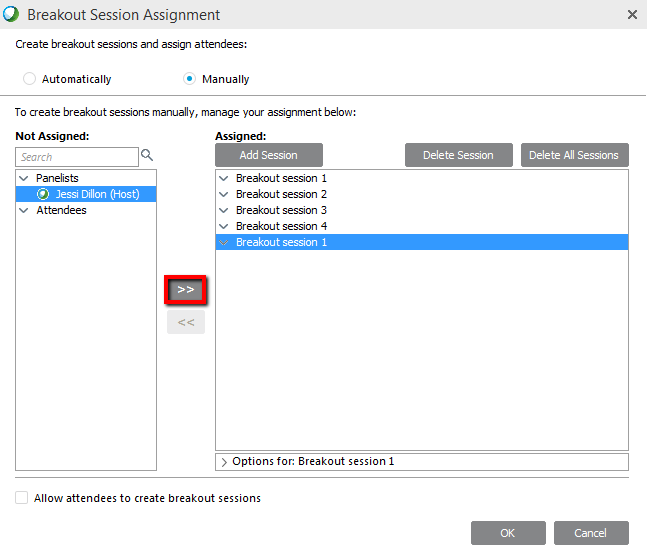
1. Select Manually in the Breakout Session Assignment window.

2. Click Add Session for each breakout session that you would like to have, and label each session with a group name of your choice. Repeat this until you have the required number of groups.
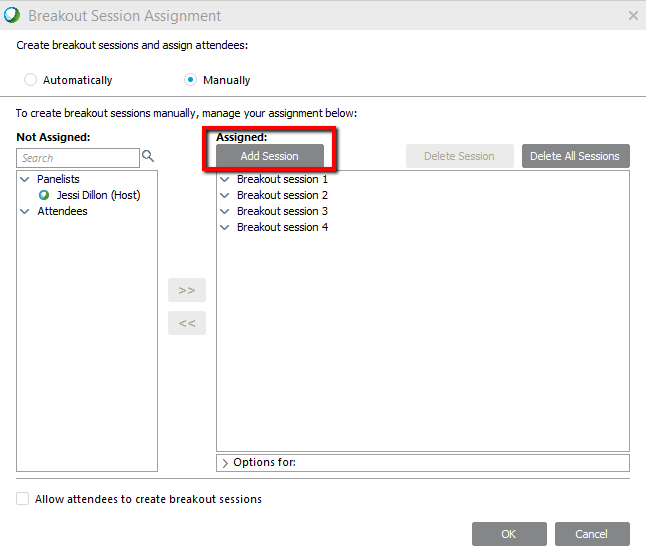
3. Select the Session and the name of the student to assign a specific student the session.
4. Click the arrow button to add students to the session.
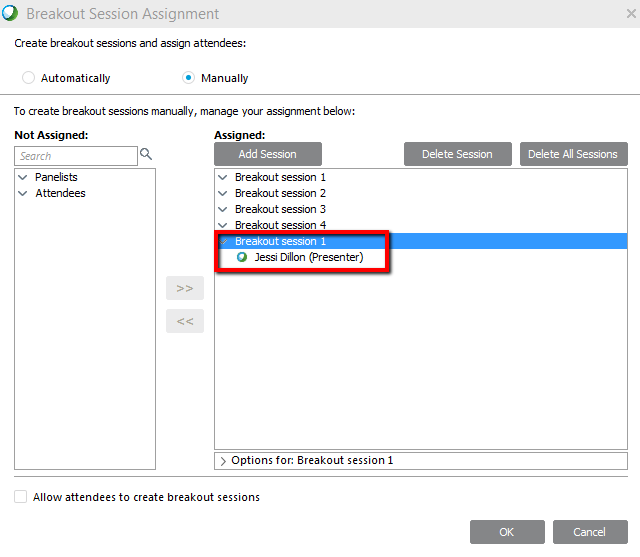
5. The first student in the group is assigned the role of Presenter for that breakout session.
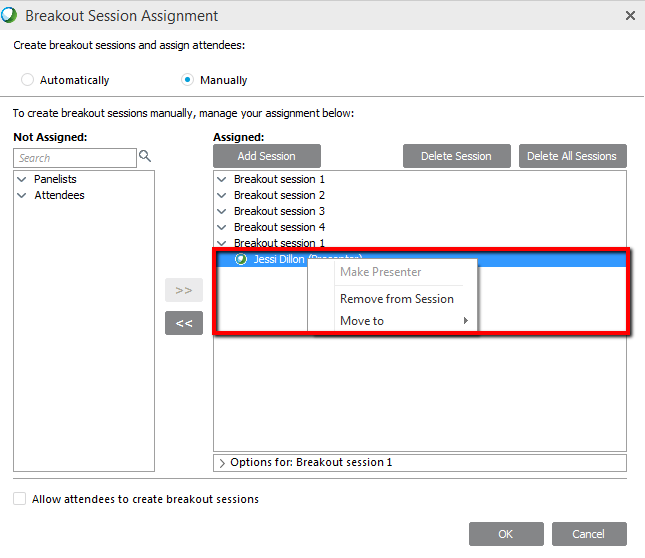
To change Presenter, right-click on the name of the student you would like to appoint as the Presenter and select Make Presenter.
1.3 Manage Student Access
You can allow students to move between groups and create their own, but this is optional. Students won't be able to set up their own groups unless you select these options.
1. If you would like students to form their own groups, click Allow attendees to create breakout sessions at the bottom of the page. This will let students self-select into groups that they create.

2. If you would like students to join a breakout session on their own, select any breakout session and click Let others join breakout session without invitation.
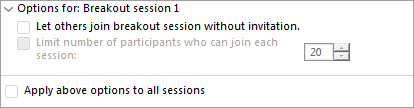
3. You will also be able to also Limit the number of participants who can join each session to keep student-created group sizes reasonable.
4. Decide if you would like to apply these options for all sessions. This is useful if you want students to self-allocate into their own groups.
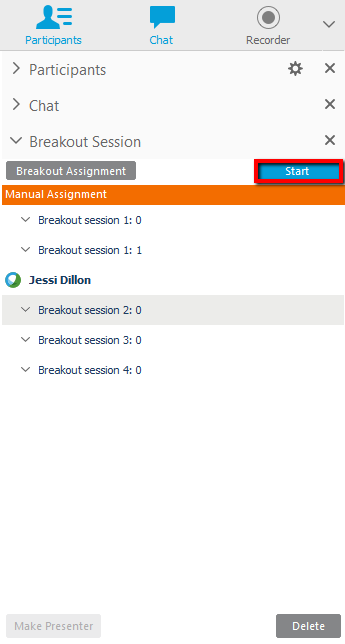
1. On the Breakout Session panel, click Start to commence intragroup discussions.
Breakout session presenters will receive a prompt asking them if they would like to start their session. After a Breakout session Presenter has accepted the invitation, other members of the session will receive a prompt asking them if they would like to join the session. All students are then switched from the main audio teleconference to the breakout session teleconference.
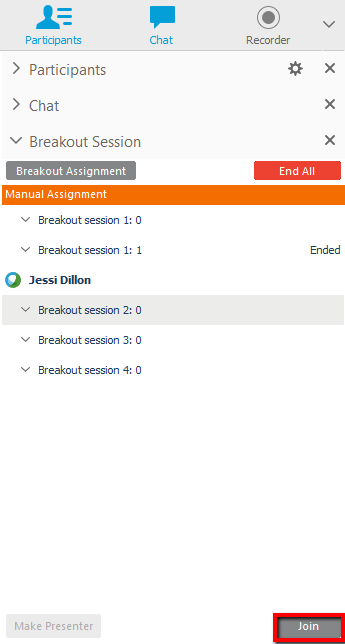
2. Hosts have the option of joining one breakout session at a time. To join a Breakout session of your choice, click on the Breakout session you wish to join and click Join. You will then be connected to that session.
Communication tools such as Chat, Feedback, Annotation, and Audio work the same as in the main training session except that students communicate within their breakout sessions only. Likewise, sharing in a breakout session is similar to sharing in the main session. You can share documents, whiteboards, applications, and information on the web. Desktop sharing is also an option if you wish.
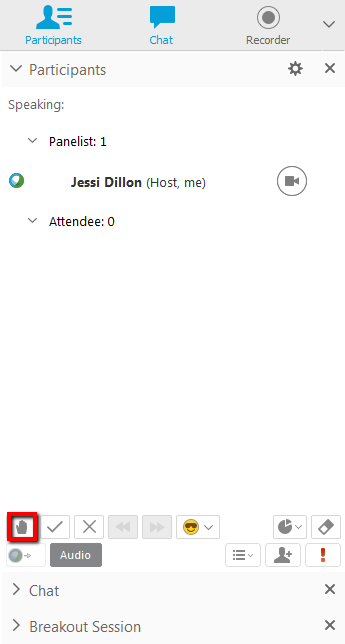
All students can ask the Host for assistance at any time. A Raise Hand icon appearing next to the student’s name indicates that the student is asking for assistance from the Host / Main Presenter.
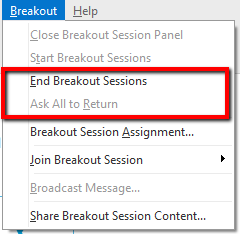
To bring a Breakout Session to a close, navigate to Breakout from the WebEx menu bar. You can select End Breakout Sessions or Ask all to Return. If you choose to End Breakout Sessions, students will be notified that their breakout session will end in approximately 30 seconds.
If you choose to Ask All to Return, students have the choice of whether to return to the main session or continue remaining in the breakout session.
After breakout sessions have ended, you may invite groups to share their content.
To invite individual groups to share the content of their Breakout session:
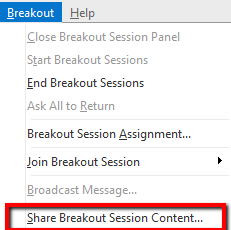
1. Navigate to the Breakout menu.
2. Click Share Breakout Session Content...
From the Share Breakout Session Content window, choose a group. The name of the group’s last presenter will appear as the Last Presenter. The presenter will be notified of this request. The presenter will also have the option of selecting the content to share.
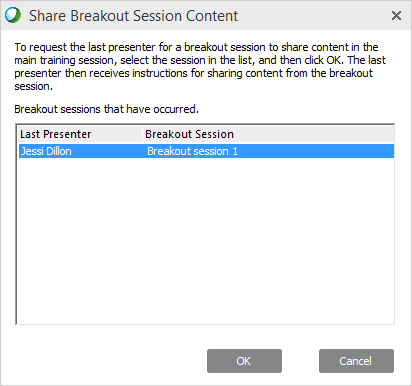
The content shared will appear as a tab in the main WebEx session to all students.

