|
...
|
Article ID: 738
Last updated: 21 May, 2026
Below are the steps on how to connect to Eastern's Wi-Fi networks.
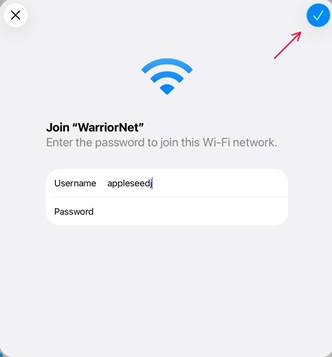
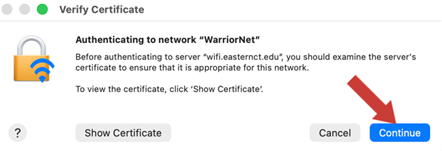
For iPhones/iPads:
You are now connected!
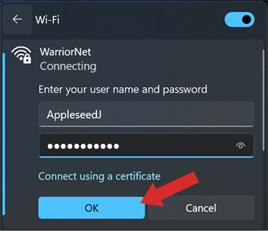
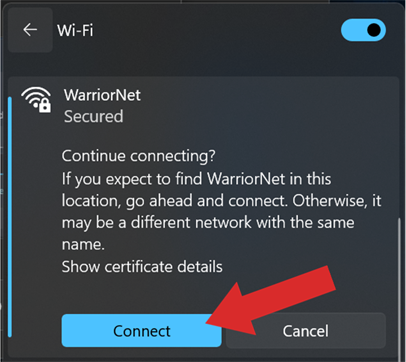
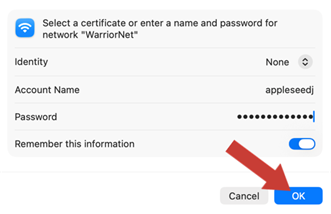
You are now connected! For Apple Laptops:
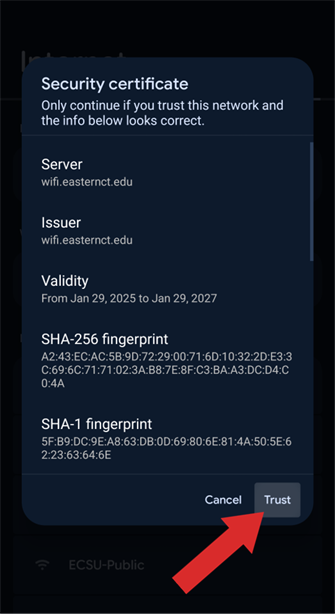
You are now connected! For Samsung Phones:
5. Click Connect You are now connected! For Google Pixel Devices
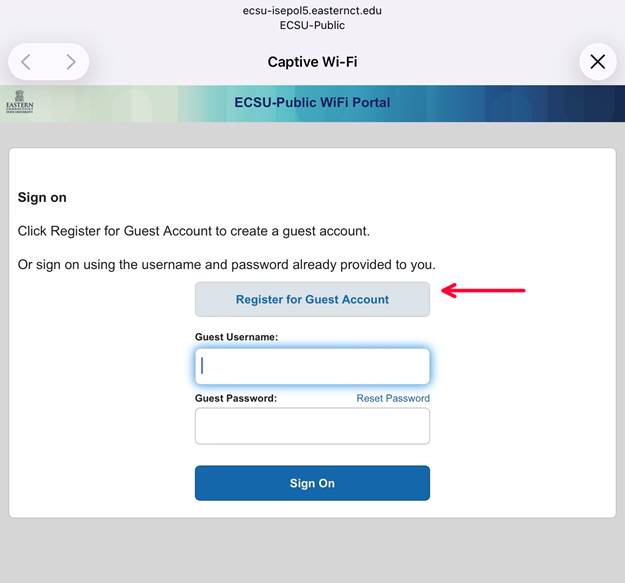
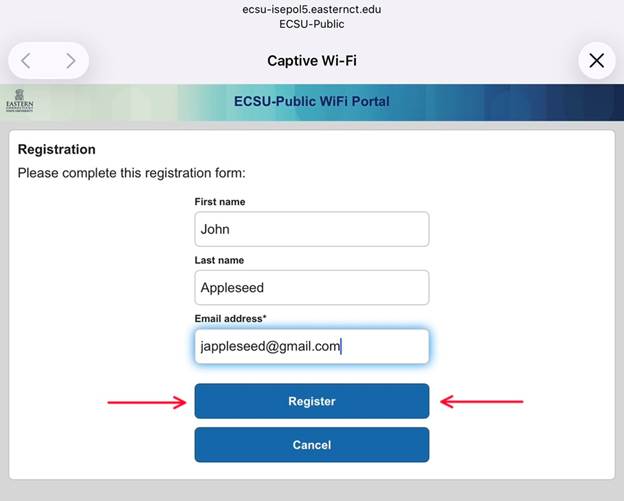
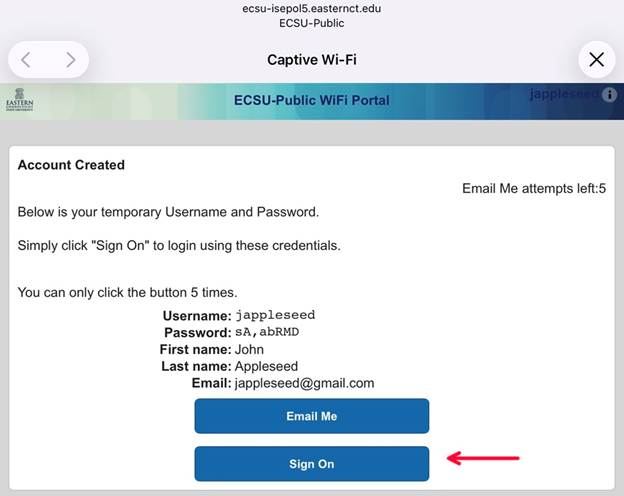
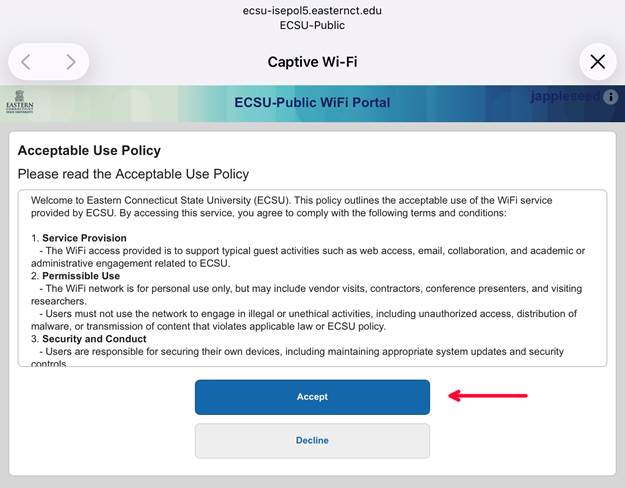
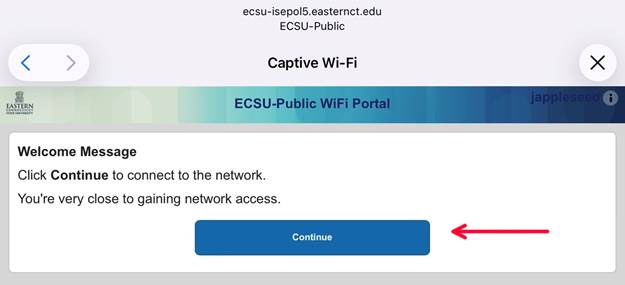
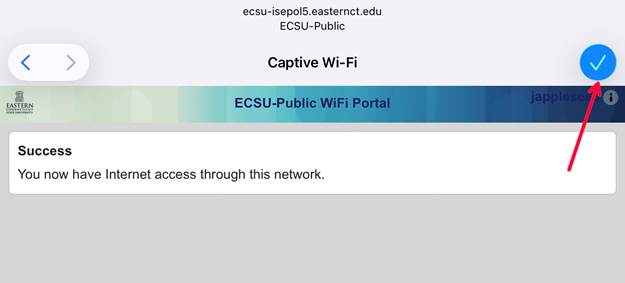
You are now connected! “ECSU-Public” Wi-Fi NetworkThis network is for guests and visitors. Click the ECSU-Public SSID
“Eduroam” Wi-Fi NetworkVisitors that have been assigned login credentials at other educational institutions can login to this network using those credentials. The instructions are the exact same process as “WarriorNet”
How to Connect a Gaming/Smart Device to ECSU-Public: 1. Obtain the Mac Address of your device
2. Scan the QR code -OR- go to: mydevices.easternct.edu
5. Click the “Add” button 6. Enter your device details, and then click “Submit”
7. Once you see this screen, your device has been successfully registered. You will see them listed in the format as shown below.
8. On the device you can now join the “ECSU-Public” WIFI network.
This article was:
Article ID: 738
Last updated: 21 May, 2026
Revision: 8
Access:
Public
Views: 596
Also listed in
|

.png)

.png)
.png)
.png)
.png)
.png)
.png)

Powered by KBPublisher (Knowledge base software)